Document damage as soon as it is safe, contact your insurer, and keep a record of the claim. Policy terms and state rules affect deadlines and coverage, so confirm the requirements that apply to you.
Before the Storm: Essential Documentation
The most valuable insurance work you'll ever do happens before any weather threatens. Create a detailed home inventory with photographs and video. That inventory becomes your evidence if damage occurs.
Creating a Home Inventory
Walk through each room with a camera or phone and document every item of value: furniture, electronics, artwork, appliances, fixtures. Capture both wide shots (full rooms) and close-ups (serial numbers, condition). For high-value items like jewelry, collectibles, or art, keep receipts or appraisals. Store it all in at least two places: one physical copy in a waterproof safe at home, and one digital copy in cloud storage (Google Drive, Dropbox, or iCloud) you can reach from anywhere.1 A short annual video walkthrough, narrated as you go, creates a timestamped record of your home's condition that is powerful evidence if a dispute arises.
Photographing Your Home's Structure
Document your roof, siding, windows, doors, and foundation. If you've recently renovated or repaired, photograph the improvements and keep receipts showing the work and cost. That proves your home's current value and keeps an insurer from treating renovated spaces as original condition.
Storing Policies and Important Documents
Keep copies of your policies, declarations pages, and your agent's and insurer's contact information in multiple places. A waterproof folder at home is essential, and so is a digital copy in the cloud. During or right after a hurricane, instant access to your policy number, coverage limits, and claims hotline speeds everything up.
Immediately After the Hurricane: Safety First
The first priority is safety, not the claim. If your home is structurally compromised, unstable, or ringed by hazards, get out and stay out until local authorities declare the area safe.
Initial Safety Assessment
When it's safe to return:
- Check for gas leaks. If you smell rotten eggs, leave immediately and call emergency services from outside.
- Look for downed power lines. Avoid every electrical hazard and keep family and pets clear.
- Inspect structural damage. Cracked beams, separated walls, or a compromised roof mean an engineering assessment is warranted.
- Check for water intrusion safely. Ask qualified contractors about emergency protection; do not climb onto a damaged roof.
- Look for mold indicators. A musty odor or visible growth signals damage still to come.
Preventing Secondary Damage
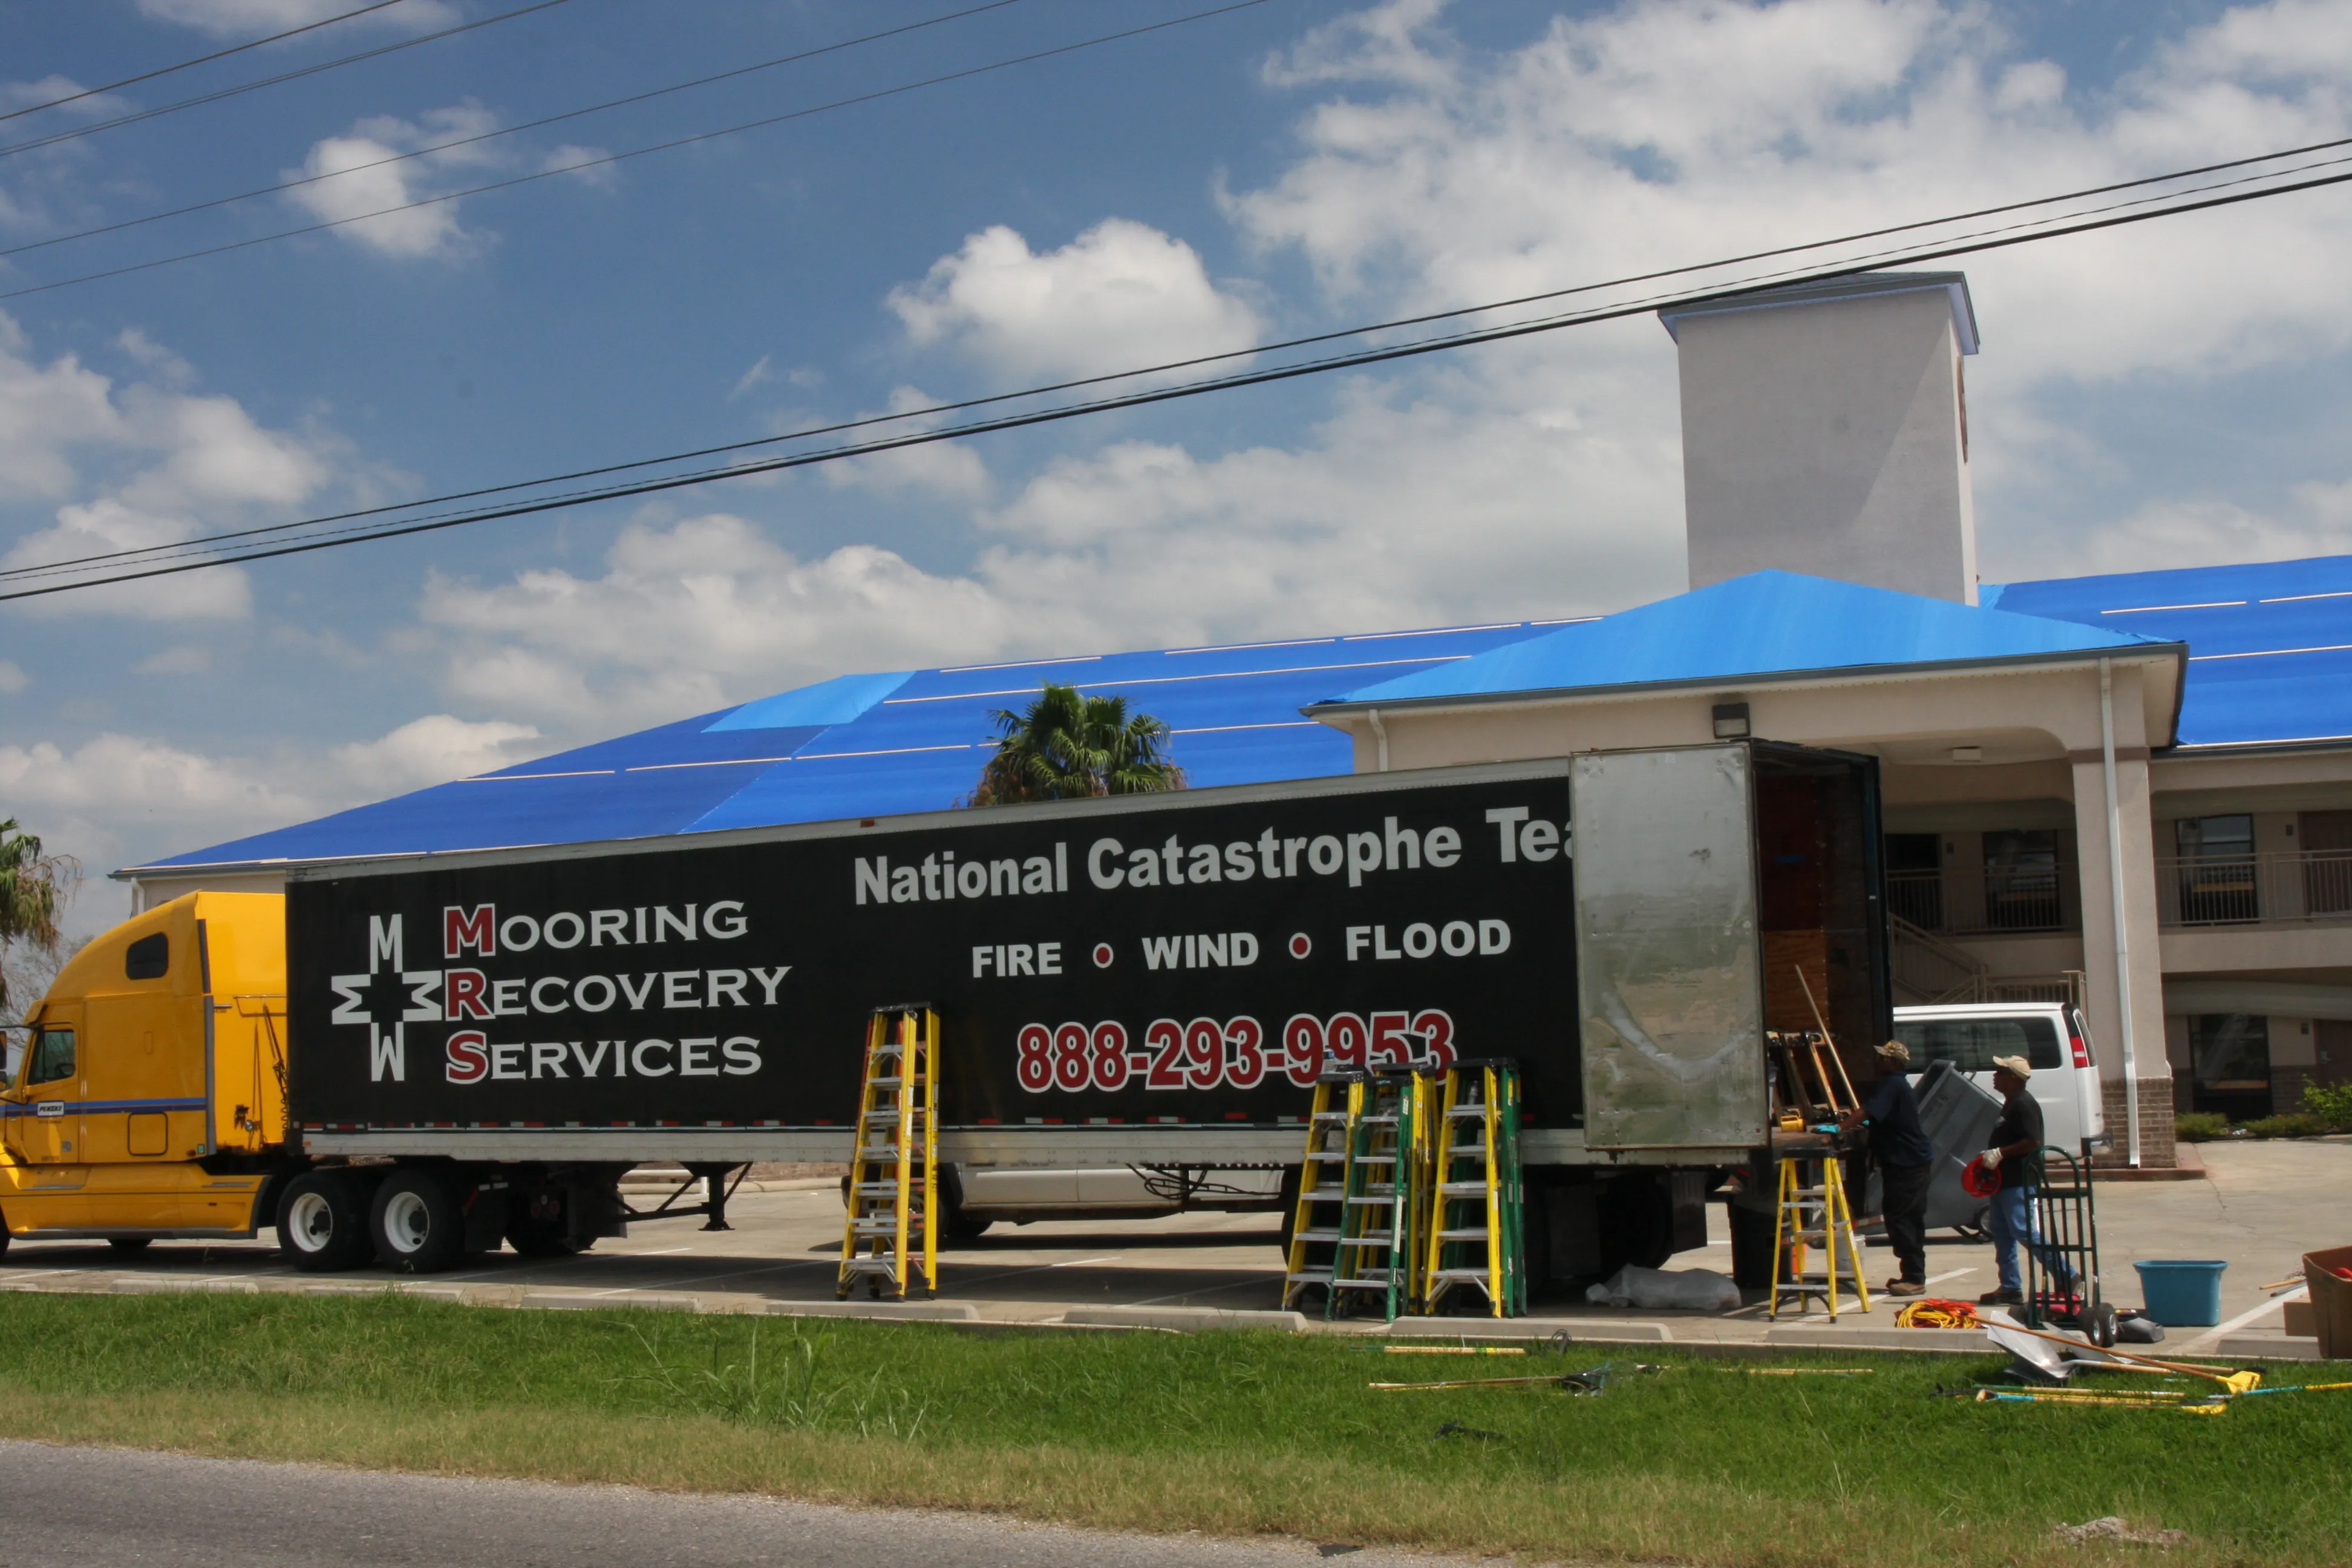
Take reasonable steps to prevent further damage when safe. Use qualified help for roof work, document conditions, and keep receipts. Reimbursement depends on coverage and policy terms; there is no universal tarping price or guarantee of payment.2
Documenting Damage: The Critical Phase
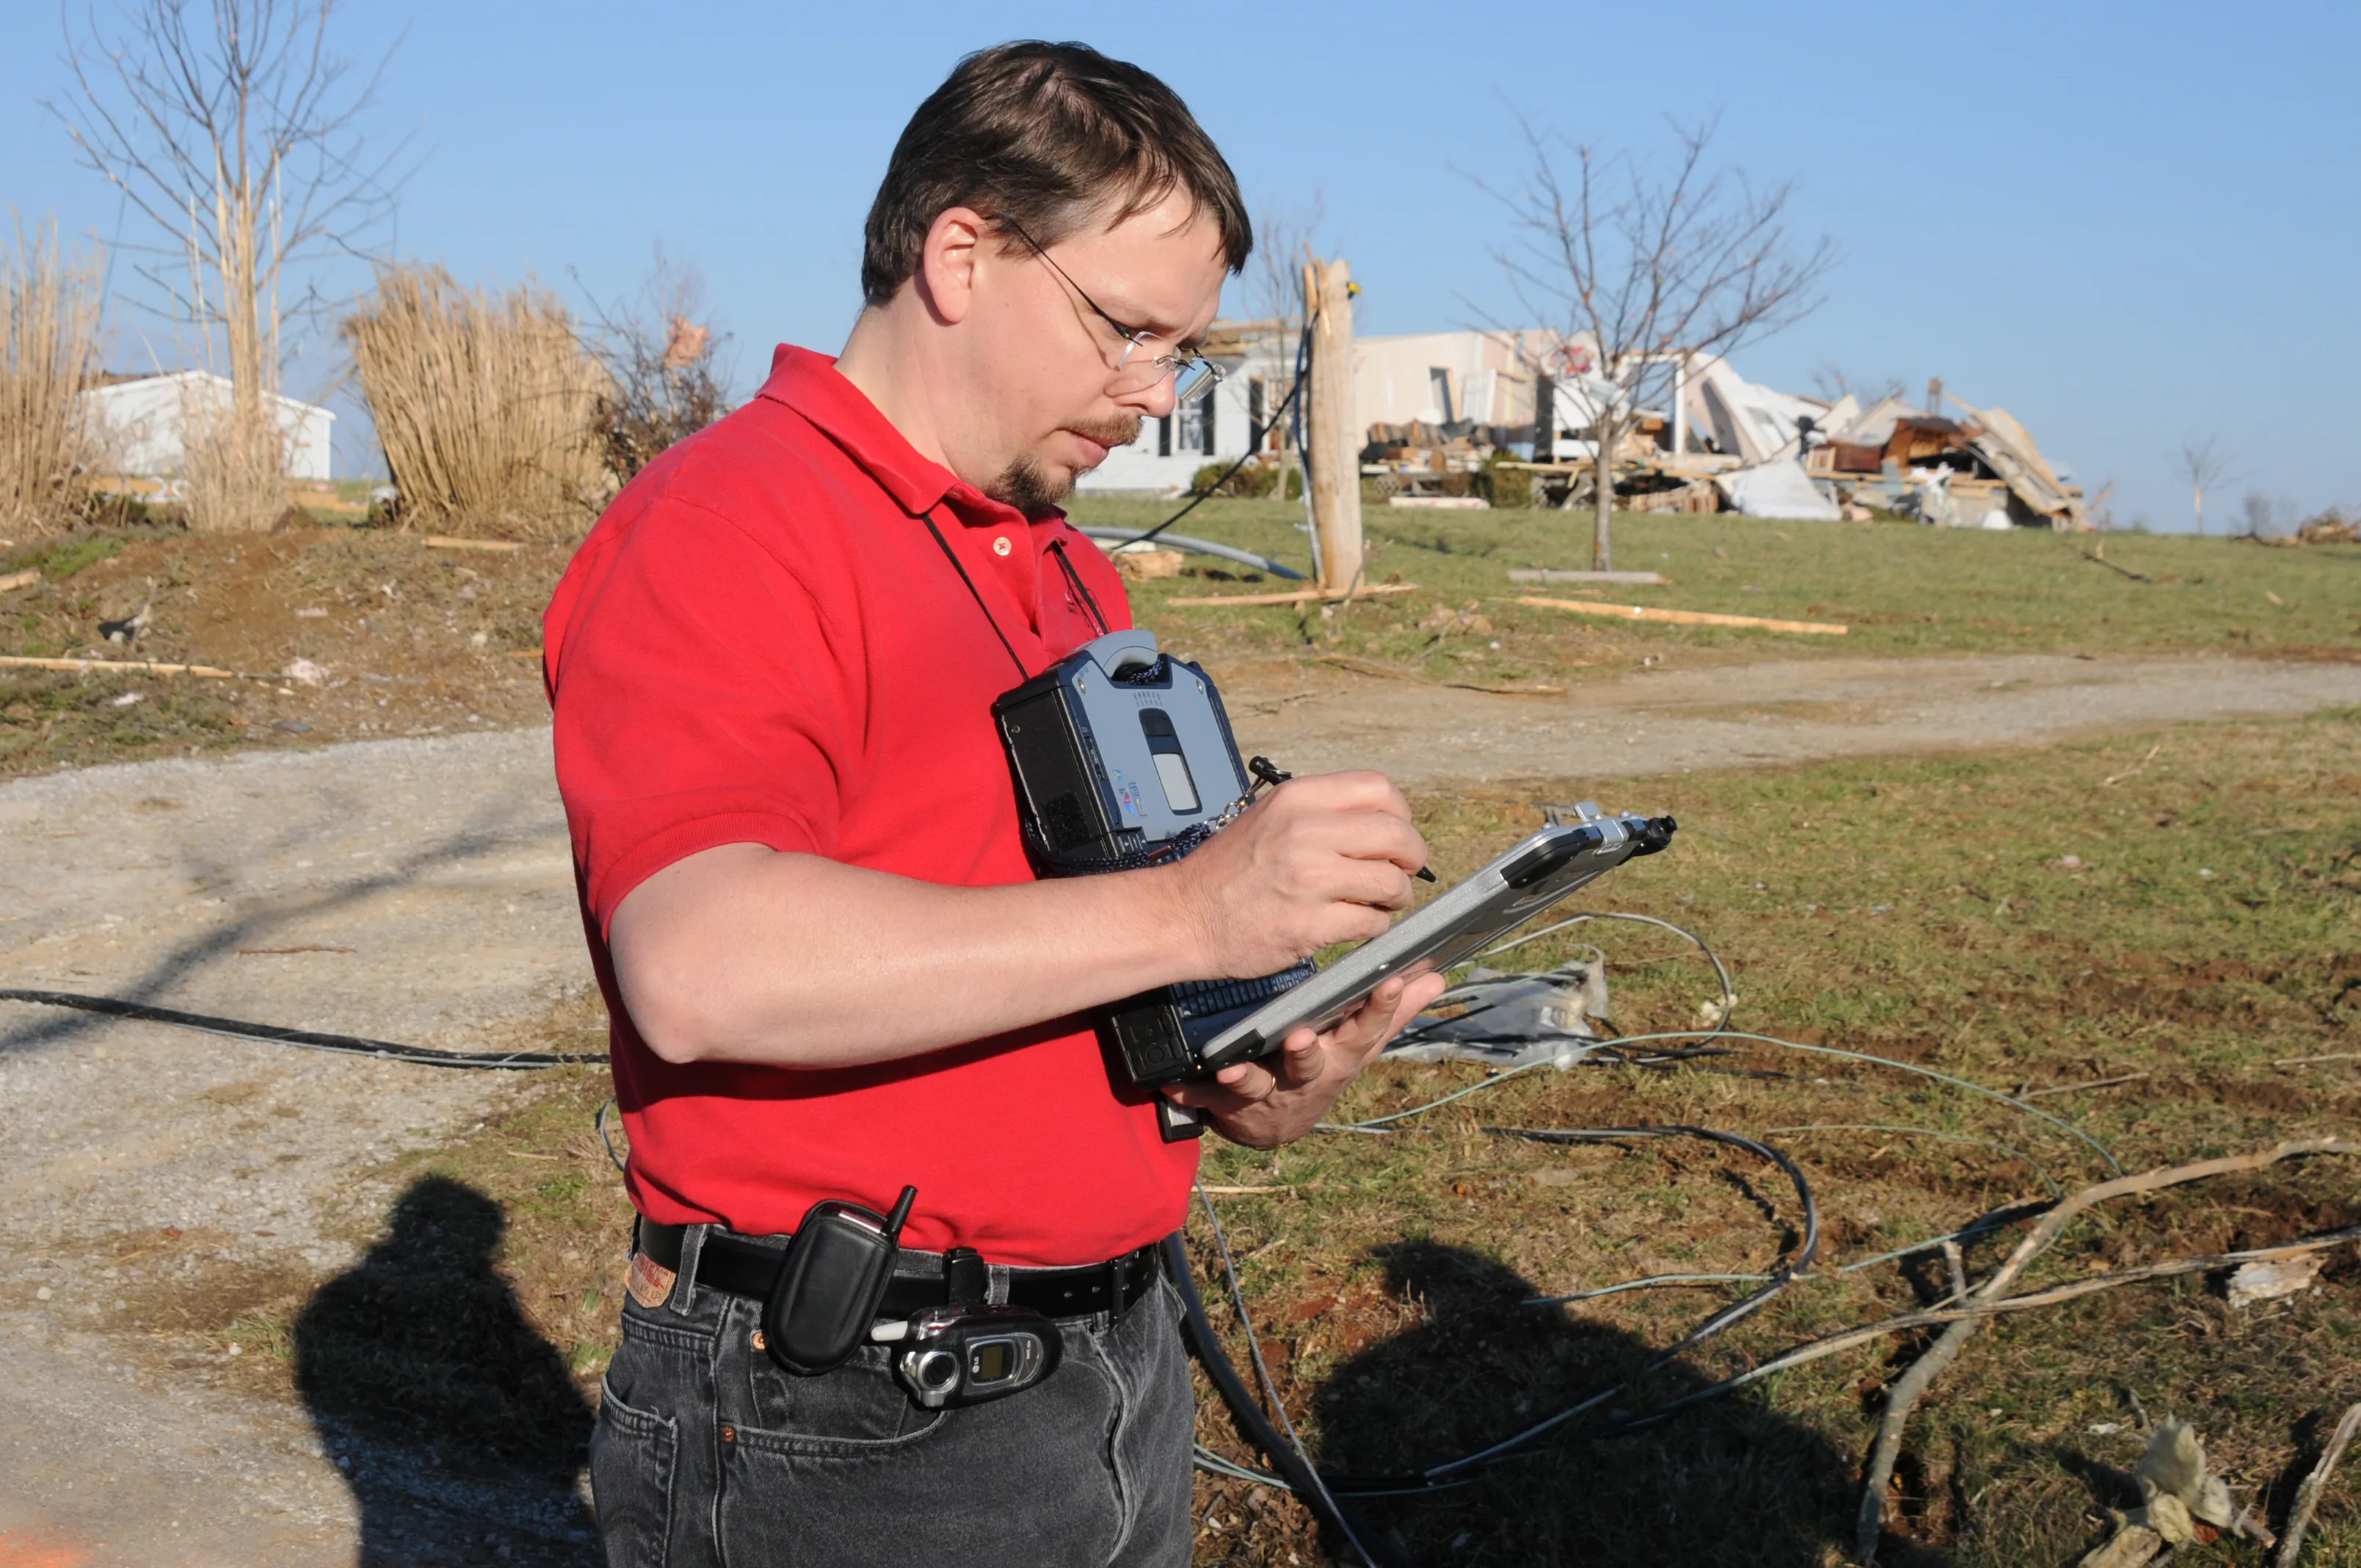
Before any cleanup, document all the damage with photographs and video. This is your evidence. Once debris is cleared, proving what was damaged gets much harder.
Photograph and Video Everything
Shoot every damaged area from multiple angles: wide shots for the overall picture, then close-ups for the specifics. Capture how the damage ties to the storm, a branch through a window, wind-driven rain patterns on a wall, debris embedded in siding. Take notes as you go on the details, the dates, and the sequence of events.
Make a Written List
Build a detailed written list of everything damaged, organized by room, with descriptions, approximate age, estimated replacement cost where you can, and the damage type (wind, water, debris impact). This list is the foundation of your claim.
Gather Receipts and Valuations
Collect receipts for damaged items where you have them. For expensive items without a receipt, look up current replacement costs on retailer sites. That gives your claim a documented basis instead of asking the insurer to guess.
Contact Your Insurer Immediately
Call the claims hotline as soon as it's safe. Most policies require prompt notice, usually within a few days. Give the basics: policy number, address, nature of the damage, date it occurred. Most insurers will email a claims packet or point you to an online filing. Don't wait for an adjuster to arrive before documenting, photograph everything yourself first.
Filing Your Claim: Step-by-Step Process
Step 1: Contact Your Insurer
Call the claims hotline on your insurance card or policy. Have your policy number ready. Many insurers add staff during hurricane season for the claim volume; if the phone lines are jammed, file through the online portal or app.

Step 2: Complete the Proof of Loss Form
Ask which signed proof-of-loss documents and deadlines apply. NFIP generally requires a signed proof of loss within 60 days unless FEMA authorizes an extension; do not assume an adjuster’s visit satisfies every requirement.3
Step 3: Submit Documentation
Submit the proof of loss with everything supporting it: photos, video, the written inventory, receipts, purchase records, and repair estimates. Many insurers take documents through an online portal; if yours doesn't, use certified mail and keep the originals. For email, request acknowledgment; a read receipt is not guaranteed proof of receipt.
Step 4: Schedule the Adjuster Inspection
Your insurer assigns an adjuster to inspect the property. Be there for it: answer questions, point out damage, hand over your documentation. If the damage is extensive, you can hire a licensed public adjuster to represent you, under a written fee agreement.2 The adjuster's job is to assess damage and set the payout. If you disagree with the assessment, raise it right away.
Step 5: Receive the Settlement Offer
The adjuster’s assessment informs the insurer’s settlement offer. If you disagree, ask for the reasons in writing, identify the disputed damage, and supply supporting records. Confirm the applicable response and appeal deadlines with your insurer and state insurance department.2
Working with Adjusters and Public Adjusters
Understanding the Adjuster's Role
The insurance adjuster works for the insurance company, not for you. Their job is to assess damage fairly but defensibly from the insurer's side, and they're trained to spot underinsurance, excluded damage, and policy exclusions that lower the payout. That doesn't make them dishonest; most are professionals following industry standards. It does mean their interests aren't identical to yours.
When to Hire a Public Adjuster
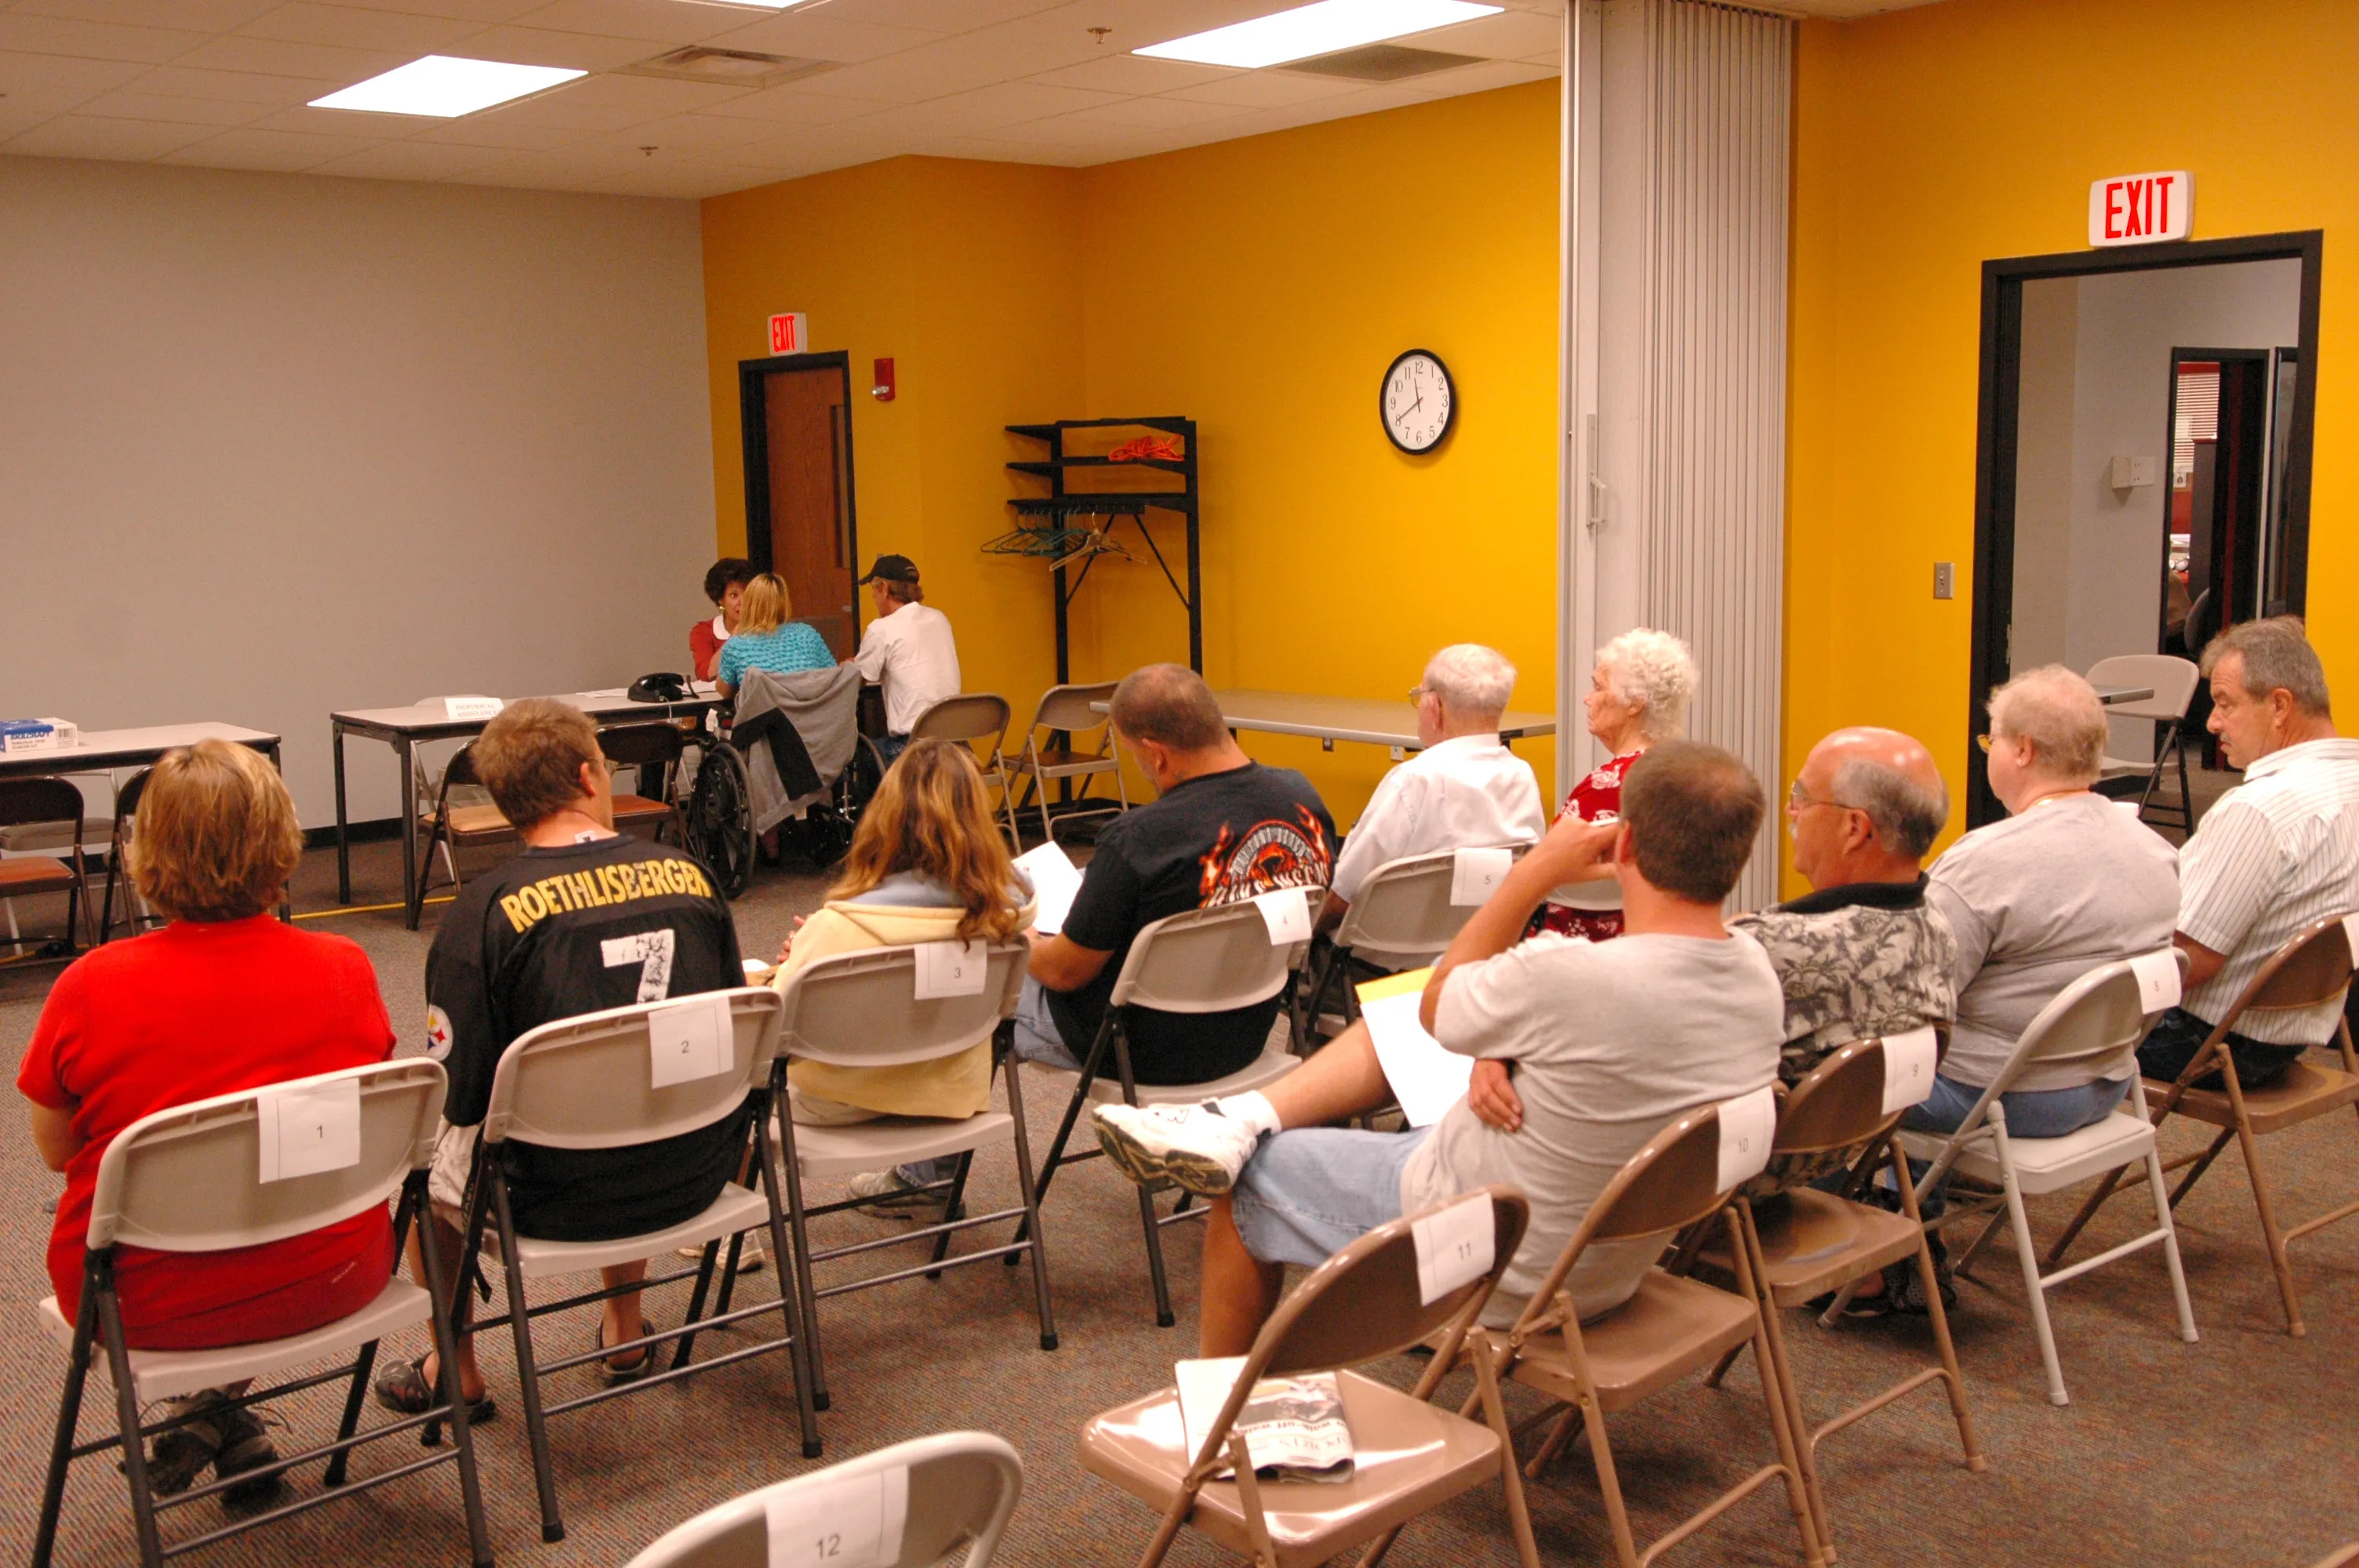
A licensed public adjuster generally represents the policyholder; an “independent adjuster” usually works for insurers on a contract basis. Fees and legal caps vary and may apply to total proceeds, not just a negotiated increase. Read the contract and check licensing before hiring.
- The claim’s complexity and potential benefit justify the fee after reviewing the contract
- The damage is complex, spanning multiple property types or mechanical systems
- You disagree significantly with the insurer's initial assessment
- You lack the time or expertise to document and defend the claim yourself
Choose one carefully. They should be licensed in your state, carry errors-and-omissions insurance, and provide references. Steer clear of any public adjuster who shows up unsolicited at your door or guarantees an outcome.
Preparing for the Adjuster Visit
Have your documentation organized and at hand: photos, video, inventory list, receipts, estimates, and your proof of loss. Walk the adjuster through the damage, pointing out what they might miss. Keep it factual, not emotional, and let the documentation carry the argument.
Common Claim Pitfalls to Avoid
Pitfall 1: Incomplete Documentation
The most common mistake is thin documentation. A vague "roof damage" with no specifics or photos invites the adjuster to estimate low. Detailed evidence builds a defensible claim.
Pitfall 2: Settling Too Quickly
Review an offer against the documented damage, policy terms and repair estimates. Ask about missing items and supplemental claims before signing a release; do not assume every initial offer is deliberately low.
Pitfall 3: Discarding Damaged Materials
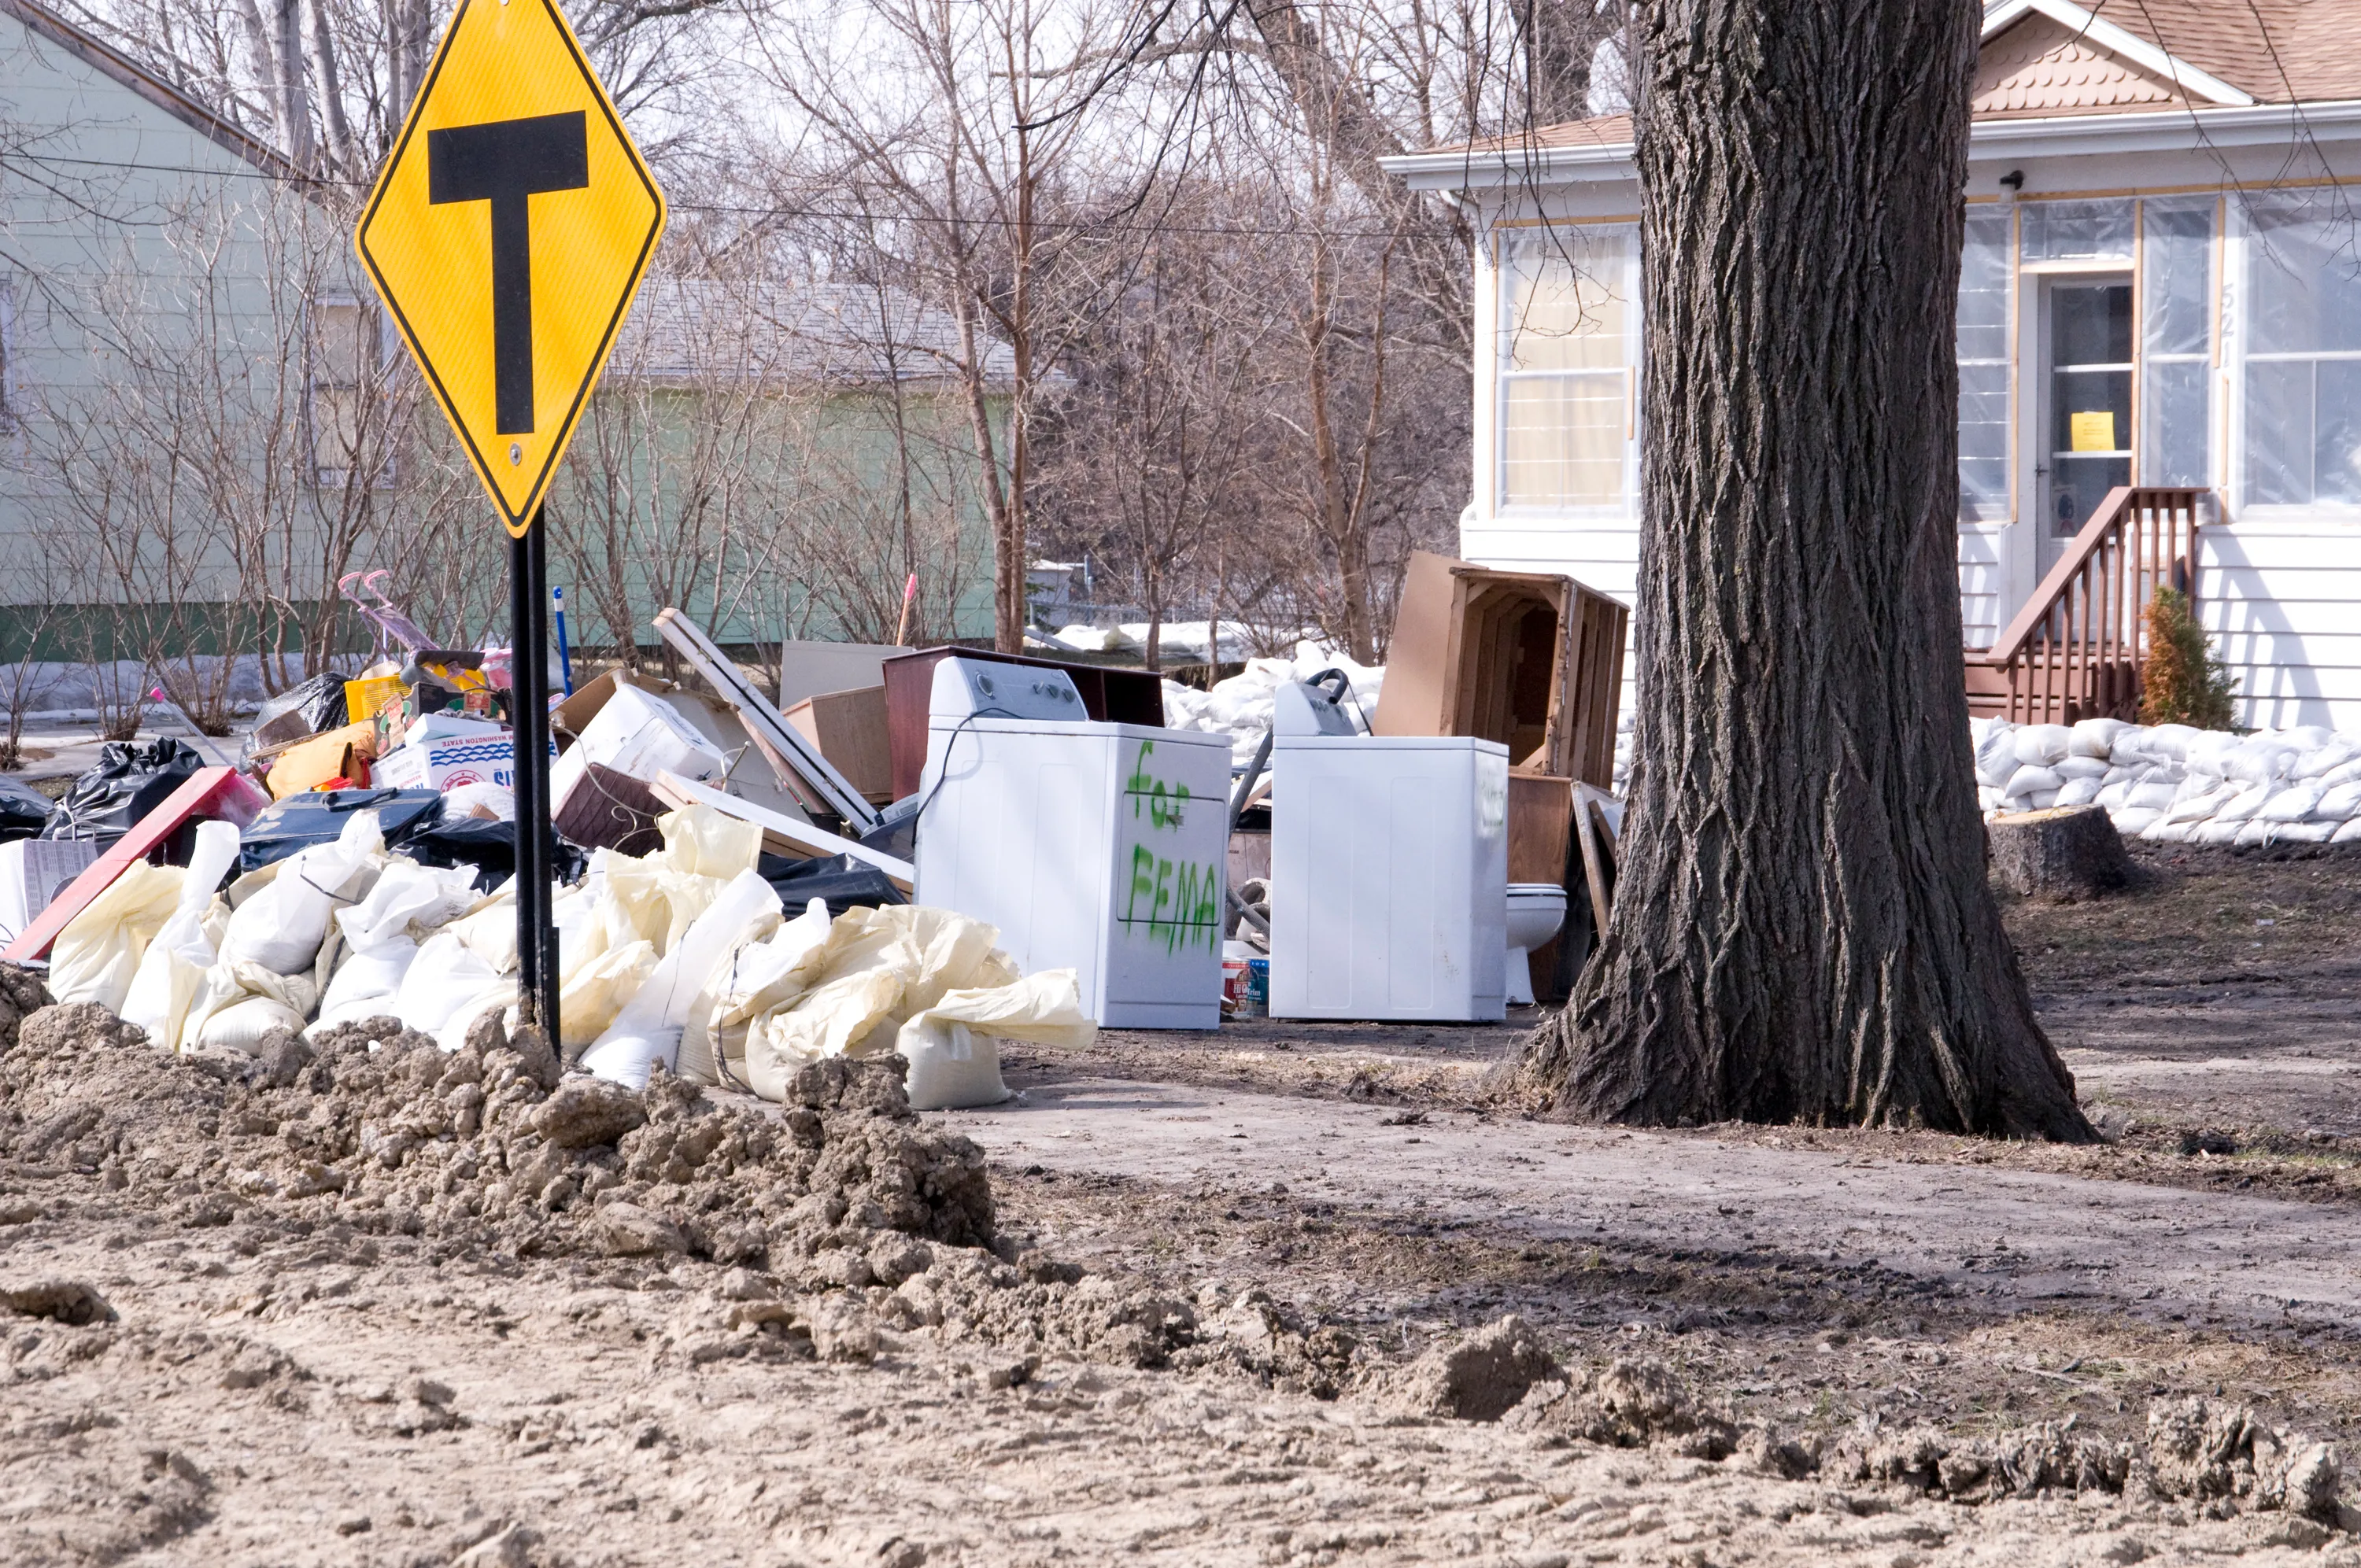
Photograph damage when safe and follow insurer instructions on samples and disposal. Do not retain unsafe or contaminated materials solely to await inspection; protect health and prevent further damage while documenting the work.
Pitfall 4: Speculating About Causes
Give truthful, complete information. Distinguish what you observed from what you do not know, and do not guess at a technical cause. Do not conceal known facts to protect a claim.
Pitfall 5: Not Reviewing the Adjuster's Report
Read the inspection report closely. Look for errors, missed damage, or mischaracterized damage. If you disagree, send written corrections with photographic evidence right away. (For the full catalog of what trips people up, see insurance pitfalls to avoid.)
Dispute Resolution and Appeals
Disagreeing with the Settlement
If the offer comes in well below your documented damage, you have options. Most policies include an appraisal process where an independent third party reviews both your evidence and the adjuster's.
The Appraisal Process
Appraisal procedures depend on the policy and law. Common provisions use two appraisers and an umpire, with agreement by two determining the award; it is not an average of valuations. Appraisal commonly concerns the amount of loss, not every coverage dispute. Confirm costs, scope and deadlines before invoking it.
Mediation and Formal Dispute
Some states run mediation programs for insurance disputes before litigation; contact your state insurance commissioner's office for details. If mediation fails and the amount at stake justifies the cost, you can pursue litigation, though it's slow and expensive.
Working with an Attorney
For a coverage dispute, ask a qualified insurance attorney about options, deadlines and fees. There is no universal $25,000 threshold or guarantee that recovery will exceed the fee.
Sources
-
Federal Emergency Management Agency. Financial Preparedness. Ready.gov. https://www.ready.gov/financial-preparedness ↩
-
Insurance Information Institute. How to File a Homeowners Claim. https://www.iii.org/article/how-to-file-a-homeowners-claim ↩ ↩2 ↩3
-
Federal Emergency Management Agency. National Flood Insurance Program Claims Handbook (FEMA F-687, 2024). https://agents.floodsmart.gov/sites/default/files/media/document/2025-07/fema-nfip-claims-handbook-08-2024.pdf ↩